From Idea to Finished Shaker: A Look Behind Production
From Idea to Finished Shaker: A Look Behind Production
Many B2B customers order branded shakers and drinking bottles without knowing the production process behind them. Yet understanding how they are made is what lets you order the right quality, plan realistic lead times and get the best results for your own brand. In this article we take you on a journey through the entire production process — from the first idea to a product ready for dispatch.
Step 1: Concept and design
Every project starts with a clear idea. What should the shaker communicate? Which audience is it addressing? Which colours and materials suit the brand identity?
What happens in the design phase
The design phase runs in four clearly defined steps that make sure the finished product matches exactly what you had in mind.
| Step | What happens | Your contribution |
|---|---|---|
| Briefing | Your ideas are captured | Tell us the logo, colours, size and quantity |
| Design proposal | A draft with the logo positioned is produced | Give feedback |
| Print data check | Resolution, colour mode and size are checked | Supply the print files |
| Approval | The final design is documented | Approve the design |
Practical tip: Always supply your print data as a vector file (AI, EPS or PDF). That way the logo prints razor-sharp at any size — whichever printing method you choose.
As we explain in our guide to white-label products, the design phase is decisive for how the finished product turns out.
Step 2: Choosing the material
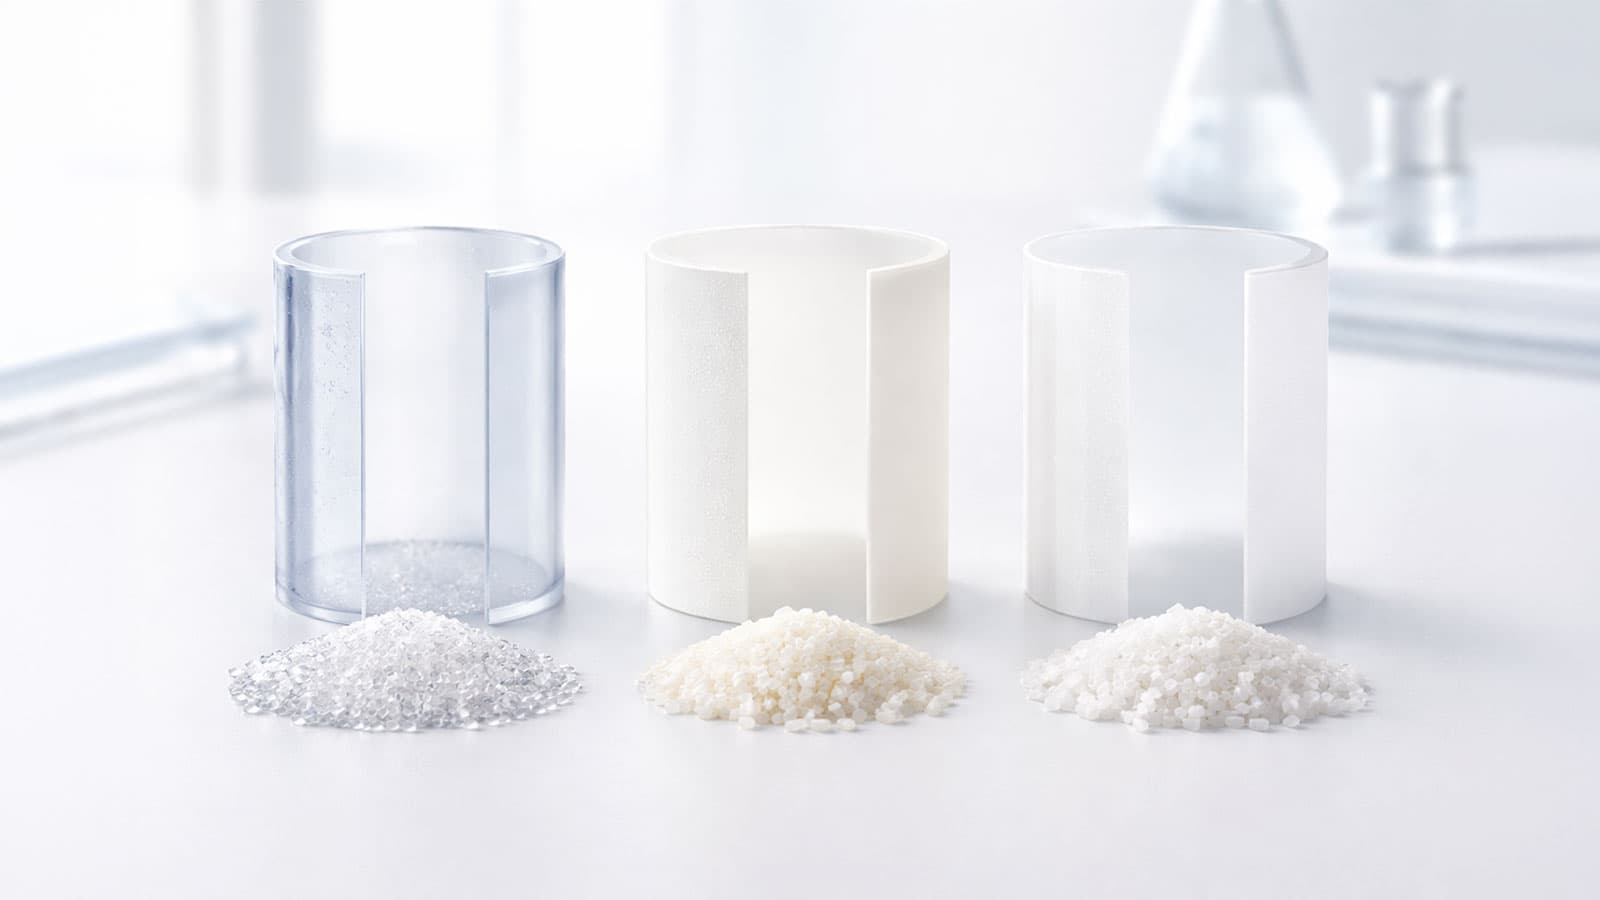
The choice of material determines how the shaker feels, how long it lasts and how safe it is. The most common materials are:
The three most common materials differ considerably in appearance, feel and price. The table below gives a quick overview.
| Material | Properties | Price bracket | Ideal for |
|---|---|---|---|
| Tritan (BPA-free) | Crystal clear, shatter-resistant, taste-neutral | Premium | High-grade brand products |
| PP (polypropylene) | Light, robust, dishwasher-safe | Standard | Promotional shakers with good value for money |
| PE (polyethylene) | Flexible, soft, inexpensive | Basic | Large runs on a small budget |
You will find more on the differences between the materials in our comparison of Tritan, PP and PE.
Step 3: Tooling and injection moulding
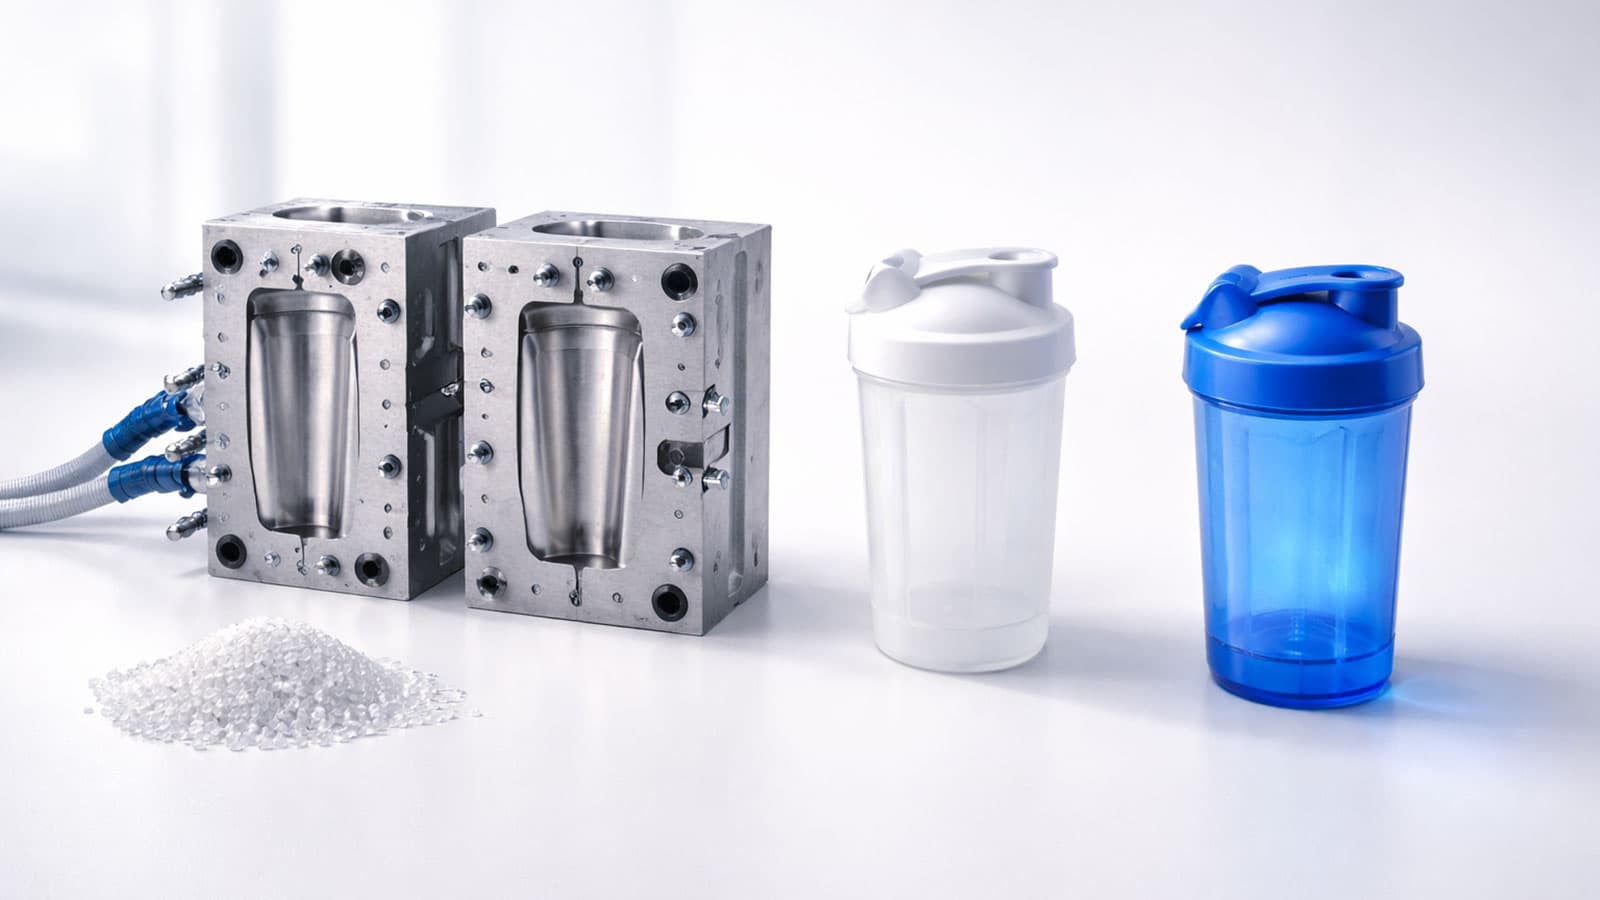
Once material and design are settled, actual production begins:
The injection moulding process
- Heating the granulate: the plastic granulate is heated to 200-250°C until it liquefies
- Injection: the melt is injected into the mould under high pressure
- Cooling: the material hardens inside the mould
- Demoulding: the finished blank is removed
- Finishing: flash is removed and surfaces are smoothed
The components of a shaker
A typical shaker consists of several parts that are made separately and then assembled.
| Component | Function | Material (typical) |
|---|---|---|
| Cup | The main body, 500-800 ml | Tritan, PP or PE |
| Lid | Screw thread and drinking opening | PP |
| Closure cap | Flip-top or screw cap | PP or PE |
| Sieve/mixing ball | Even mixing | Stainless steel or PP |
| Seal | Leak-tightness | Silicone |
Step 4: Printing
Printing is the most visible part of the process — this is where your shaker becomes a brand product.
Common printing methods
Different methods suit different designs, quantities and budgets. The table below helps you get your bearings.
| Printing method | Strength | Ideal for | Minimum run |
|---|---|---|---|
| Screen printing | Durable, cost-efficient | Large-area, single-colour designs | From 100 units |
| UV digital printing | Photorealistic, no printing plates | Small runs, complex motifs | From 1 unit |
| Sleeve printing | 360° wraparound design | Maximum design freedom | From 500 units |
Good to know: UV digital printing is the only method that needs no printing plates. That makes it particularly economical for small runs and sample production.
On the quantities: The figures above are typical for each method — they say from what point a technique makes technical sense. Our own minimum quantities depend on the product, and every product has its own. The binding figure is shown with each product in the configurator.
Printing is followed by a drying or curing stage, depending on the method. UV prints are cured immediately under UV light; screen prints need drying time.
Step 5: Quality control
Before a single shaker leaves the factory it goes through several quality checks. The table below shows the main inspection steps.
| Inspection step | What is checked | Method |
|---|---|---|
| Visual inspection | Print quality, colour accuracy, surface | Visual checks during the running process |
| Leak test | Leak-tightness | Spot checks to a defined inspection plan |
| Material testing | Food-contact conformity | Laboratory spot checks |
| Function test | Lid, closure, mixing ball | Spot checks |
| Drop test | Shatter resistance | Spot checks from a defined height |
Certifications
High-grade shakers have to meet a series of international standards before they reach the trade.
| Standard | Meaning | Scope |
|---|---|---|
| BPA-free | No bisphenol A residues | Relevant worldwide |
| LFGB compliant | The German food and consumer goods regulation | Germany |
| EU Regulation 10/2011 | Plastics in food contact | EU-wide |
| FDA compliant | Food and Drug Administration | USA (export) |
Step 6: Packing and shipping
The final step before delivery covers careful packing and dispatch.
| Packing step | Details |
|---|---|
| Individual packing | Each shaker in a poly bag or box |
| Cartons | 50-100 units per carton (standard) |
| Palletising | Euro pallets for larger runs |
| Shipping | Freight forwarder or parcel service, direct to your warehouse |
Typical lead times
| Type of production | Lead time | Note |
|---|---|---|
| Standard production | 4-6 weeks | From design approval |
| Express production | 2-3 weeks | At a surcharge |
| Stock goods with printing | 1-2 weeks | The fastest option |
In summary: quality needs process
Every branded shaker goes through a clearly defined production process. From design through injection moulding to quality control, every step contributes to the quality of the finished product. We accompany you through these steps and obtain your design approval before production begins.
Browse our range of customisable shakers and drinking bottles in our product overview.
Would you like to have your own shaker produced? We will accompany you from the first idea to the finished product. Get in touch for free advice and an individual quotation.